
Construction of Sprout 2024 Quilt
- adelle pears
- Feb 12, 2024
- 3 min read

Congratulations on making all of your fabulous Sprout blocks!! Here we'll put them all together in to one glorious whole quilt. This design concept is thanks to Amanda from AleeBCreative who also brought you the Light in the Darkness block.

You will need your 16 Sprout blocks and your filler blocks, the exact number of those will vary depending on which ones you decided to make. They are indicated in purple in the diagram. They will be referred to as filler sections as the make up of them will also differ depending on which designs you used.
If you did not get the bonus mini Bart pattern you will also need a 2 1/2" x 4 1/2" piece of fabric. This mini block is indicated in teal in Section 2 of the diagram.
For the sake of not being too repetitive I have not specified to press each seam in the following directions but ensure to press each seam as you go and sew with a 1/4" seam.
Section 1

Take one of your Curved Dreams blocks and sew it to a filler section (1).
Take your Rocky Mountain Reflection block and sew it to another filler section (2).

Next sew your Curved Dreams/filler block to your Hand Weave block (3).

Join these 2 blocks together to complete Section 1 (4).
Completed Section 1:

Section 2


Take your bonus Bart block (or the 2 1/2" x 4 1/2" piece of fabric) and attach to a filler section (1). Then attach to the 10 1/2" square Castle Garden EPP block (2).
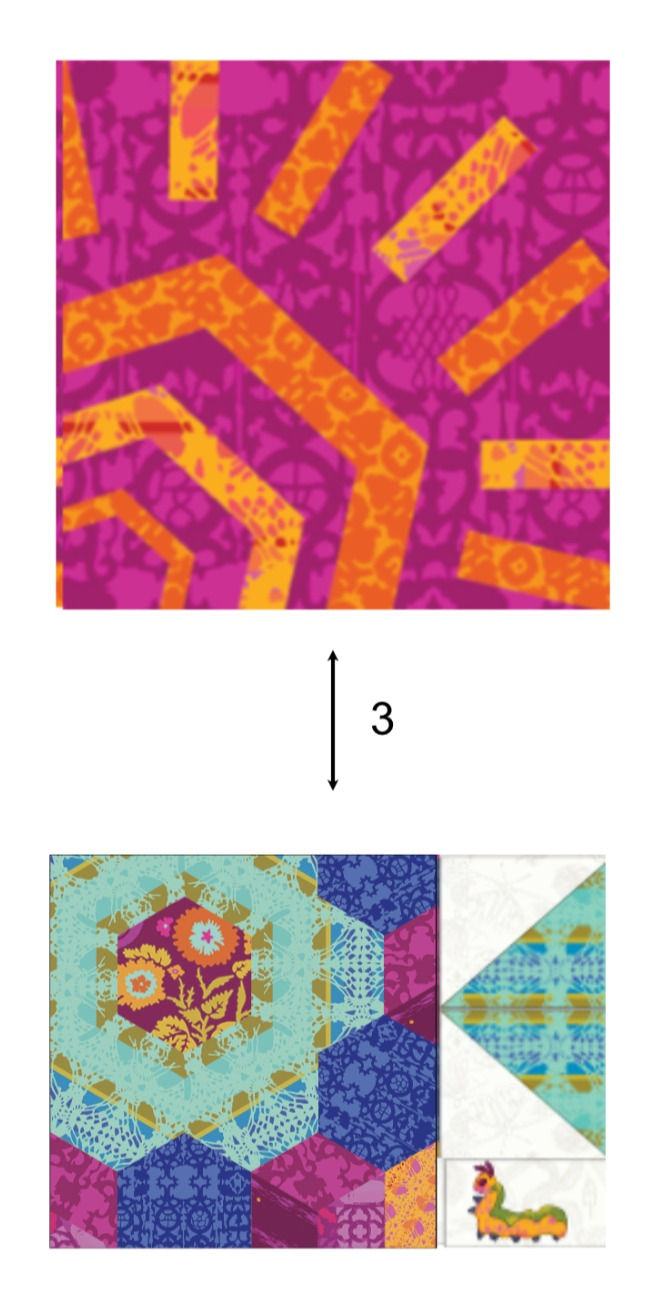

Now add your Sun Dazzle block (3), followed by Cocooned Dreams (4).
Section 2 is now complete:

Section 3

Take your 12 1/2" square Castle Garden block and attach to a filler section (1).
Sew 2 Curved Dreams blocks together (2).

Next add the Castle Garden/filler block to your Light in the Darkness block (3).
Sew the 2 Curved Dreams blocks to a filler section (4).

Next add your Geneva block to the Curved Dreams section you have made (5).

Join the 2 pieces together to complete Section 3:

Section 4

Take the 2 remaining Curved Dreams blocks and sew them together (1).
Join the filler section pieces (2).

Add the filler section from (2) the your Merkaba block (3).
Add your New Bloom block to a filler section (4).
Add the 2 Curved Dreams block to the Blooming Dresdens block (5).

Add the Merkaba/filler block and the New Bloom/filler block (6).

Add your block from (6) to the Blooming Dresdens/Curved Dreams block (7).
Section 4 is now complete:

Final Construction
In the final stretch we will be using the partial seams skills you learned making Sew SImply Meg's Geneva block.

Take Section 1 and your remaining filler block.
Place the filler block RST at the bottom right corner of Section 1 and sew from approximately the centre of the filler block to the right edge as indicated by the dashed line.
You have created an edge long enough to attach Section 2 as per the diagram below.

Add Section 3 as indicated below.

And now add Section 4.

Now you will be able to fold your quilt in half RSTand sew the remaining partial seam between Section 1, Section 4 and the central filler block. The sew line is indicated by the dashed line and make sure to match up the central seam (indicated by the green circle) when pinning your seam.

Congratulations!

You can now add borders if you wish, I have a blog post on how to do this too if you would like to read it. Give your glorious creation one last press and take a step back to admire it!
This is my finished quilt, I got a little border happy!

I used the HST fillers along with Bart and my dresden/Bart combo (if you have not seen the instructions on how to make this, you can find it here). I had 2 HSTs left over so I decided to add a border with cornerstones to incorporate these blocks. As I intended to use the navy fabric to bind the finished quilt I decided to add a navy and then a white border.
Then my fabulous designer buddies started to bring out their filler blocks and I decided to use the applique ones to create another border. I still intended to use the navy binding so wanted the border to have the white background but added a thin navy border first so that there would be a clear division between the inner and outer borders.
If you have any questions please reach out to me - adelle@pearpawquilting.com. Make sure to share your quilts on social media and tag me so I can also admire your hard work @pearpawquilting. I hope you had as much fun making this quilt as I did!
Happy Quilting!


Comments